
October 1, 2026 · RV Fun Center
Your RV Was in an Accident: What to Do Before You Call Your Insurance
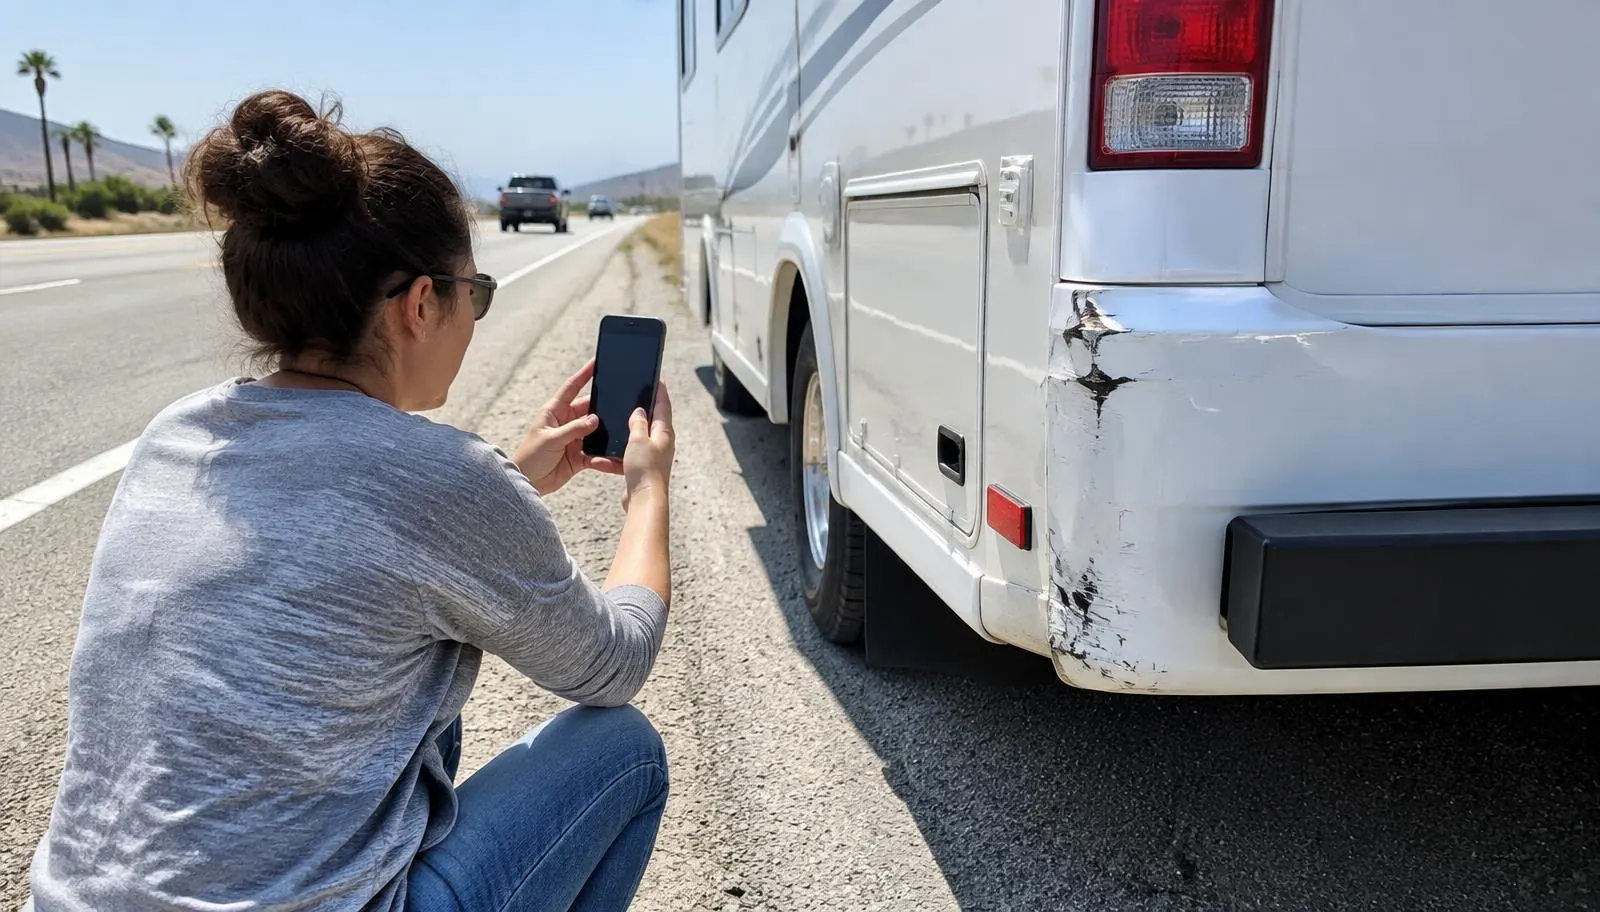
A scrape against a pole at a fuel station on the 76, a fender bender in stop and go traffic on I-5, a low branch at a campground in the hills. RV accidents in North County are rarely dramatic, but they are almost always stressful. You are standing next to a vehicle that is also your kitchen, bedroom, and vacation, and you are trying to figure out what to do next.
The good news is that most of what makes an insurance claim go smoothly happens in the first hour, before you ever pick up the phone to call your insurer. This guide walks through those steps in order, so you can protect yourself, your passengers, and your claim.
1. Get everyone safe first
Before anything else, check on everyone in the RV and in any other vehicle involved. If anyone is hurt, call 911. Your RV can be repaired. People come first.
If the RV can be moved safely and the law allows it, pull fully off the travel lanes onto the shoulder or into a parking area. Turn on your hazard lights. Large vehicles stopped in a lane are very hard for other drivers to judge, especially at dusk or on curvy coastal roads. If you carry reflective triangles, set them out behind the RV.
Check for the smell of propane. If you smell gas, shut off the propane at the tank, keep everyone away from the RV, and do not use flames or start the generator. Do the same if you see fluid leaking under the coach that you cannot identify.
2. Decide whether you need a police report
If there are injuries, if another driver is involved and you cannot agree on what happened, or if public property was damaged, contact local law enforcement. In many situations a report is helpful for your claim even when the damage looks minor. Ask the officer how to get a copy of the report and write down the report number.
If no one else is involved, like a single vehicle scrape against a post, a report may not be needed. Your insurer can tell you what they require when you call.
3. Take more photos than you think you need
Photos are the single most useful thing you can give an insurer or a repair shop. Take them before anything is moved, if it is safe to do so, and again after.
- Wide shots of the whole scene, showing where each vehicle ended up.
- Medium shots of each side of your RV, including sides with no damage, so it is clear what was and was not affected.
- Close ups of every dent, crack, scrape, and broken part. Put a common object like a key in the frame for scale.
- The other vehicle, its license plate, and any damage to it.
- Road conditions, signs, and anything you hit, like a post, curb, or overhang.
- The inside of the RV near any impact point. Cabinets that popped open, cracked walls, or items that broke loose can all be part of the damage.
4. Exchange information and write things down
If another driver is involved, collect their name, phone number, driver license number, insurance company, and policy number. Get names and phone numbers of any witnesses. Then, while it is fresh, write a short note on your phone: the time, location, direction you were traveling, weather, and what happened in plain words.
Stick to facts when you talk to the other driver. You do not need to discuss who was at fault at the scene.
5. Do not drive a damaged RV until it is checked
This is the step people skip most often. An RV that looks only scratched can have hidden problems: a cracked mounting point, a damaged slide-out mechanism, a bent awning arm that could swing loose at speed, or a torn seal that will let water into the walls the next time it rains. A damaged front cap or roof edge can also start to peel back at freeway speeds.
If you have any doubt, it is safer to have the RV towed than to drive it home. If you do drive it, keep speeds down, check mirrors often, and make sure doors, compartments, and slides are fully closed and latched.
6. Get a repair estimate from a shop that knows RVs
Your insurer will want an estimate. RV bodies are different from cars. Sidewalls are often layered fiberglass over a core, roofs are membranes over decking, and graphics are large printed decals. A shop that works on RVs every day will look past the surface to the structure underneath and write an estimate that includes what is really needed.
Bring your photos, your notes, and your policy information when you go in for the estimate. The more the shop can see, the more complete the estimate will be.
7. Choosing a shop
When you call your insurer, tell them which shop you want to use. Pick a place you can visit, where someone will walk you through the damage and explain the plan before work starts. Ask how they will keep you updated and how they handle parts that need to be ordered.
A quick checklist for your glovebox
- Safety first, then hazards and triangles.
- Propane off if you smell gas.
- Police report when needed, and the report number.
- Photos of everything, wide and close.
- Other driver and witness information.
- No driving if anything looks loose or structural.
- Estimate from an RV shop, then call your insurer with it.
When to bring it in
Any time your RV has been in an accident, even a small one, it is worth an inspection. Small cracks become big leaks, and loose parts become road hazards. Our Oceanside shop does collision and insurance work every week, and we can look at your RV, document the damage, and talk you through next steps.
Need a hand?
Call (855) 802-2343 or request a quote.
Learn about RV Collision Repair and Insurance Claims